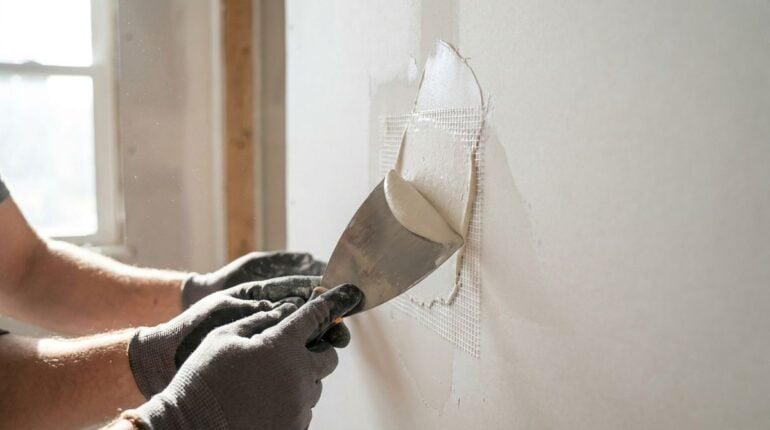
Many first home repairs begin with a small hole in a wall, often left by a picture hook, a doorknob that struck the surface, or a moving box that was pushed a little too hard. The damage looks dramatic at first, yet small holes are one of the most forgiving projects for an adult beginner. With patience, a few basic tools, and a willingness to sand and repeat, most people can achieve a result that blends in well. This guide walks through the process calmly, from checking the wall to finishing the surface.
Check the wall before you start
Before you touch the hole, look at what is behind it. Holes near light switches, sockets, pipes, or ceiling corners may be close to electrical cables or plumbing. If you see a damp patch, sagging plaster, or any sign of water damage, stop and speak with a qualified tradesperson before continuing. Hidden services are the main reason beginners should treat larger or unusual damage with care. For a small, dry, clearly empty hole, you can continue with the steps below.
Gently tap around the hole with a knuckle to listen for hollow areas. Solid spots sound dense, while loose plaster sounds dull. If the surrounding material crumbles easily, it is better to cut back to firm edges than to fill over weak material.
Clean and widen the edges
Use a utility knife to trim loose paper or crumbling board around the opening so you have a clean, firm edge. Brush away dust with a soft brush and wipe the area with a barely damp cloth. Filler bonds poorly to dust, so this step matters more than it seems. Many beginners skip the cleaning and then wonder why the patch later cracks. A slightly larger, neat opening is easier to repair than a tiny, ragged one.
For holes with a loose lip, pressing the surface gently back into place before filling can help. Do not force it, because pushing too hard can enlarge the damage.
Before you move on to filling, check these points:
- The edges are firm and free of crumbs
- Dust has been brushed away and the area is dry
- No wires, pipes, or damp patches are visible
- A flexible knife, clean water, and a cloth are within reach
Working in bright, steady light also helps, because shadows can hide ridges that will show later. Lay a dust sheet on the floor and keep the filler lid closed between uses so the product stays usable for the next stage.
Fill in thin layers
Apply filler with a flexible putty knife, pressing it into the hole and smoothing it flush with the wall. Thin layers dry more reliably than one thick mound, and each layer should be allowed to dry fully according to the product instructions. Shrinkage cracks often appear when filler is applied too thickly. Readers may also want to visit supportltd.net.
Let the first coat dry, then sand lightly and add a second thin coat if the surface looks uneven. Patience across these layers is what makes the final wall look seamless.
Sand and prepare for paint
Once the filler is completely dry, sand the patch with fine sandpaper using light, even strokes. Keep the sanding block flat so you do not create dips around the repair. Wipe away dust and check the surface in angled light. Shadows will show any low spots, and a little more filler can fix them. Painting over an unprepared patch is the most common reason a repair stands out after a few weeks.
You can also visit businesshotel-navi.com for more reading. These resources can be useful when the wall has a texture that is hard to match.
Paint and blend
Use a primer if the patch is noticeably different from the wall, since bare filler can absorb paint unevenly. Apply the paint with a small brush or roller, feathering it outward past the repaired area. Allow the paint to dry and check again in different light, because a second coat is often needed for an even finish. Clean your brush or roller promptly, and label any leftover paint with the room and the date, since good records help when you repair the same wall later. For a related read on this site, see Coming Home After Months Abroad and Rebuilding Everyday.
Patching a hole rarely looks perfect on the first attempt, and that is normal. Each repair teaches you something about how the wall responds, which makes the next one quicker and calmer. Keep your tools clean, work in small stages, and stop whenever you feel rushed.